
Ableton Simpler Tutorial
In this free Ableton Tutorial, I show you how to make a track by sampling house hold appliances!
Register below to get your FREE “Guide to Synths” eBook

Introduction to Ableton - Free Webinar
In this free 45 min webinar, I teach an introduction to the basics of Ableton Live - enjoy!

N64 Midi Controller
Make music on a games controller, the easiest way
Like the video?
Register to get your free Guide to Synths eBook written by David

Guide to Reverb
Impossible to live without in music production. Guaranteed you’ve used a reverb plug in. But what do they actually do? Well, Reverb plugins are designed to simulate a space. We can use this to achieve realism, or for crazy effects, as you’ll see below.
This is so useful, because every sound we hear in the real world has to travel from its source to our ears, via the space we occupy. That could be an echoey High School corridor or a huge open field.
In a DAW, all the sounds exist in the virtual world, and do not have this sense of space.
Sounds from sample packs will have the sound of the room the samples were recorded in. If you use sounds from more than one sample pack, then you could be adding all the different room sounds into your mix.

Image from https://newenglandsoundproofing.com/reverberation_testing
So, one way to use reverb is to combat this problem. We can put all the sounds in one space of our choosing.
On a return track, set up a nice reverb you like, and want the overall track to have as a vibe
The return track has the benefit of not smothering the original sounds - it sits behind them more - it supports them.
Send individual sounds to this reverb return track, varying the amount depending on the sound
For example, a kick drum might not need any reverb
But your whole drum group might want a little to place it in the “room”
And a vocal will certainly benefit from this sense of space
Often I will have a second return track set up with a crazy reverb - and I’ll send stuff to this more for an effect that sounds cool. It’s great when you automate things like this at a build.

Image from https://surrealmemes.fandom.com/wiki/Grid
The best mixes sound 3-D. Even though you only have 2 ears and 2 speakers (or 2 headphones, L and R), it sounds like you can hear things up close, AND in the background.
One way to achieve this is to use reverb.
In the real world, when things have more reverb, our brain interprets the source of the sound as being farther away.
This is because the sound had to travel through the space further to get to our ear, bouncing off more surfaces and generating more reverb "reflections" along the way.
Whereas if a sound was very close to us, there would be little reverb because the sound reaches our ear quickly, generating less reverb "reflections" on surfaces.
Therefore if you use a short reverb, on a return track, and don't use much of it, your sound will be direct, up front, and sound closer.
But, if you drop a longer reverb directly onto your track as an insert, it will smother the sound, and make it sound further away.
It's completely up to you what sounds you apply this too, but one cool trick is automating things like the dry/wet of a reverb.
Want to Take Your Productions to the next Level?
Find out about my Free Ableton Beginner Webinar by Registering Here
Date: 2nd Feb, 7.15PM UK Time - Hosted on Zoom

You can set this up so an element - like a counter melody for example - can fade in from the background to the foreground as it becomes more important in the arrangement.
Combine this with these other audio tricks to achieve that 3-D mix:
Closer sounds sound brighter (more high frequencies) & louder
Farther away sounds are duller (less high frequencies) and quieter.
Enjoying the article? Sign up here for our free Guide to Synthesizers eBook
Gated Reverb
“Phil stopped playing and the sound suddenly went to nothing [as the gate kicked in]. It was like, 'Oh my god, that's amazing’.”
Hugh Padgham - Engineer on the session where Gated Reverb was discovered
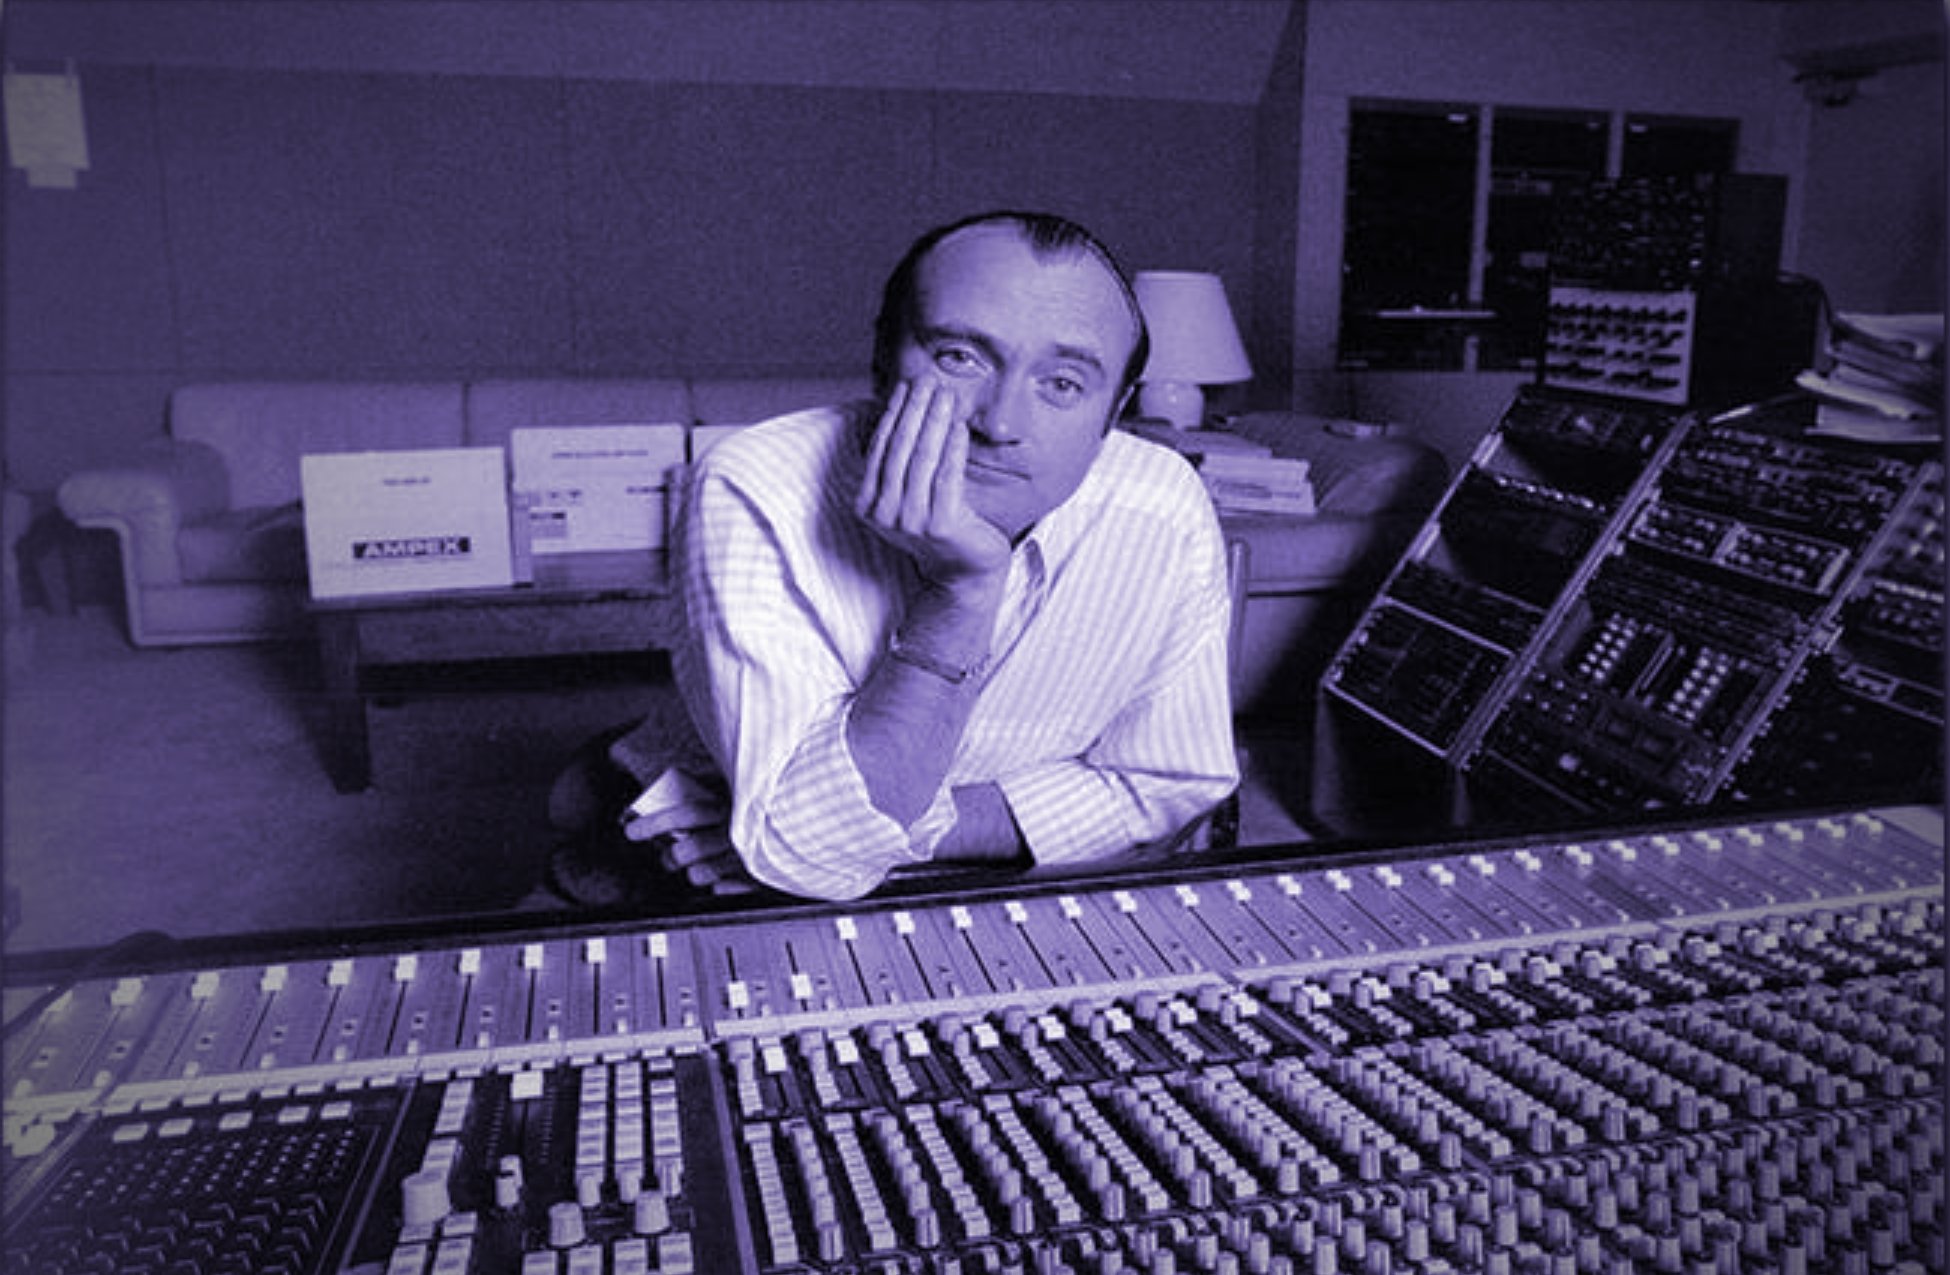
Oh YES, I had to mention this one, the most famous reverb trick of all, the gated reverb!
Invented in the 80s by accident, when Phil Collins was working with Peter Gabriel.
The new SSL 4000 mixing desk allowed gates and compressors on each channel - which was state of the art at the time. It also had a heavily compressed talk back mic to the live room.
A combination of using these features in the wrong order, plus the brilliant reverb of the live room created that insane 80’s drum sound that has an epic hit, but then suddenly cuts off to silence in a dramatic way.
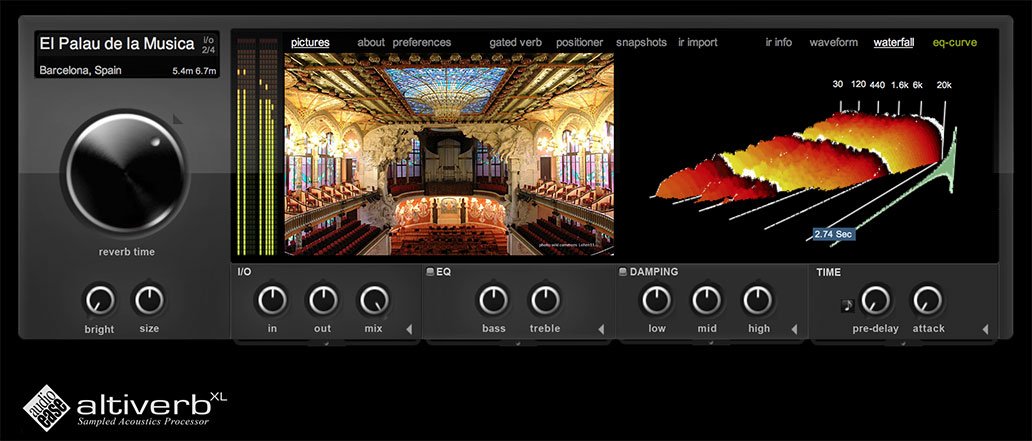
Unlike most reverb plugins that simulate a space using a computer algorithm designed by software engineers, convolution reverbs take a different approach.
In an attempt to be more realistic, sound engineers go to a location (eg an actual church hall or railway tunnel), and record an impulse response of that room.
Usually this is done by popping a balloon, and recording the sound it makes using high end microphones and recording equipment.
These impulse responses are then loaded into the plug in, which uses an algorithm to apply the sound of the space to your music. Incredible!
So if you ever wanted to record in a log cabin in Alaska, or a dojo in Tokyo, but don't have the means to… I'm sure you will find a convolution reverb plug in out there that will do the job for you!
Enjoyed the article?
Register here for our next free Ableton Webinar
Want to Take Your Productions to the next Level?
Find out about our Creative Music Producer Course Here

What is a compressor?
In this free training video, you’ll learn about what is a compressor, and 9 different ways yo use it, all in the context of making a track
Enjoy the video? Register below to receive your free ebook - A Guide To Synthesizers


The Making of “Thing EP”
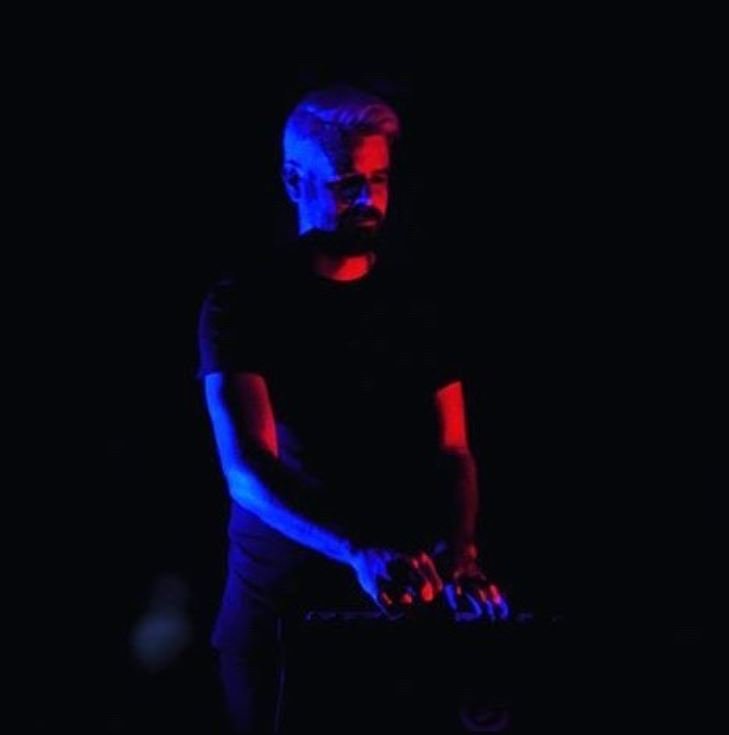
BlackAD is a mysterious noir-synth pop producer from Scotland’s largest city, Glasgow. After years of experience as a musician in the local music scene, he has finally released his first solo EP as BlackAD.
This is after a feature on the Tonic Note Records “Breathing Space” compilation in 2020.
In this article, you’ll find out how he made the EP, his inspirations, and hopefully plenty of useful ideas to use in your own music.
Click here to listen to the EP
https://tonicnoterecords.bandcamp.com/album/thing-ep

Cover art for THING EP
If you want to learn more about synthesizers, sign up here for our free eBook Guide to Synths
Inspirations
“I’m a fan of early synthpop, from the late 70s / early 80s, like early Mute Records artists such as The Normal, early Depeche Mode and Fad Gadget. The sounds were gritty, homemade, a bit out of tune and not always played in time - but the music was raw, honest and authentic.
Mute founder Daniel Miller actually argues this music was “more punk than punk”, because you needed to learn chords on a guitar to make punk music - with a synth, you only need to press a finger down on one key at a time to achieve the same thing.
The post-punk era was a time when synths and basic recording equipment finally became affordable to everyday people. You finally didn’t need to sell your car or take out a second mortgage to get a Moog Prodigy.
The Equipment

Inspired by those artists, I made the EP using two old-school analog monophonic synths played by hand (no sequencing), and the drum machines around at the time - Roland’s CR-78 and 808. And I used the monosynths to make drum sounds too.
There was some compromise involved - I had to use 808 and CR-78 samples, as ironically the price of the original units is now well beyond affordable for most people.
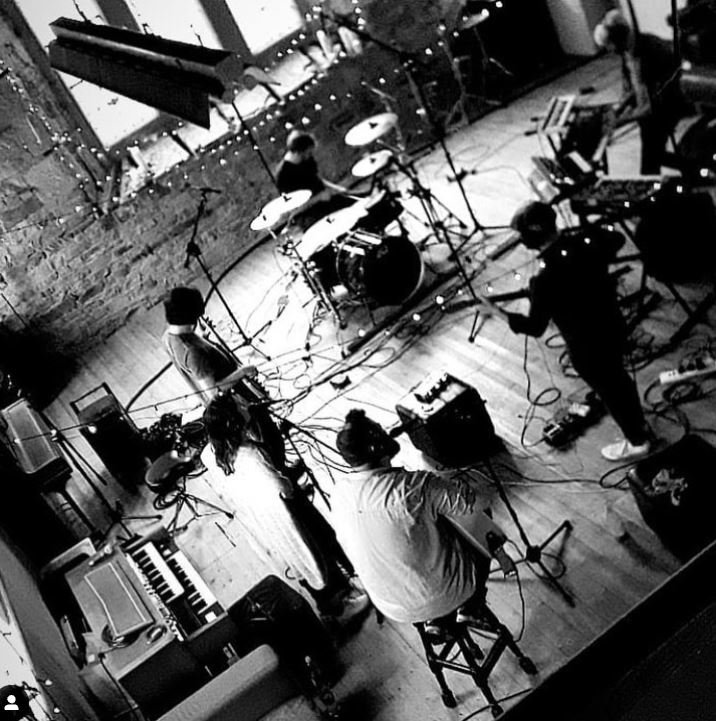
Recording Process
For the same reason, I had to ditch the idea of recording on a reel-to-reel tape machine and go with a DAW instead. But I made the recordings the way it was done back then - playing each part in live without using digital editing, and only using eight-or-so tracks per song.
For mixing and mastering I stuck to the effects available to musicians of the time - reverb, overdrive, panning and basic EQ.
Creative Process
I tend to write music in my head, while I’m out walking, sitting on the train, in the shower, or when I’m falling asleep. Then it’s a race against time to get recording before I forget them !
I also find the best songs are the ones which come quickly - if I find myself spending a long time working on a bit of music, it generally gets ditched.”
Thank’s to BlackAD for letting us in on his creative process.
If you enjoyed the article, join our Music Maker’s Social Club - A regular master mind group, based on Zoom, with BlackAD and other producers.

8 Sound Design Tips for Analogue Synths
Analogue Synthesizers have been around since the 1920's, and were so huge, they could fill the space of a whole garage - easily. Until the 1960's, only large institutions like universities or media corporations could afford to own & use these devices.

Luckily for us, in the 1960's, engineers like Bob Moog and Don Buchla created synths that were more user friendly, commercially viable - and scaled down in size.
These synths are referred to as analogue synths because they generate sound using real electrical components, which by their nature are analogue in operation , not digital.
This can often lead to a fat, warm, filthy, and very satisfying tone to the ear.
But wait!
What if you don't own a hardware analogue synth? Well, luckily software developers have been trying to emulate analogue synths for decades now, and they do a pretty good job these days.
Therefore, in our guide, I'll be using Ableton's Analog synth because it is accessible to a lot of readers. You can apply these principles to almost any hardware analogue synth, or any other virtual analogue synth plug in.
“I always figured that if I made something that was too popular, that I was doing something wrong and had best move on… I’ve always enjoyed being on the edge.”
Don Bulcha
Let's get to it, and in the spirit of Don Bulcha feel free to take these ideas and then evolve them into your own unique, edgy sound.
Sign up here to get sent the template Ableton Session to go along with the blog!
1 - Huge Detuned Bass

This is my personal favourite trick when using analogue synths, and it’s a sound that always wows me when played through a big PA system in a venue.
Artists like Justice and other noughties electro artists leaned heavily into this sound, and it is a great one for energetic, lively and aggressive sounding tracks.
Osc 1 is an octave higher than Osc 2. Osc 2 is also detuned down, and setting one wave to saw and one to square adds a clash that creates a big, raw sound.
The envelope on the filter and the amp has an immediate attack, does not decay much, then a little bit of release. These settings give an instant impact, and let the sound ring out a little, but not too much.
Unison mode - “Uni” - is on, and set to 40.63, which thickens the sound a lot.
You might have noticed the noise oscillator is on, and set to -19dB. You can’t hear it that well, but when you turn it off, it loses some of that dusty noise we want in this patch.
Finally, some overdrive adds even more drive to the sound, adding that razor edge to a huge patch.
2 - Poly Synth Pad
"It’s important just to follow the moment, when those moments come, and to not be afraid of making mistakes.” - Vangelis
When using the recipe in this article to make patches on your synth, don't forget the above advice from Vangelis. If you go off on a detour from the guide, follow your instinct and you'll make something original you can call your own.
Vangelis is famous for that huge poly-synth pad chord sound, so let's take that for our next inspiration.

When drawing in the chords for this patch, I also put in some bass notes from the chords, 3 octaves lower, to give the patch some oomph.
Saw waves are a great starting point for a 70’s / 80’s style pad, due to their rich harmonics. Osc2 is 1 octave higher, and also slightly detuned for a bit of thickness.
The envelope on the amp comes straight in, but then tails off for that washy sound. The envelope on the filter is similar, but decays slower.
I’ve set a very slow LFO, that modulates the filter freq - this sweeps the filter slowly, adding another wash effect to the sound.
Glide aka “Gli” in on and set to 42%, and this allows the notes to slide into one another.
Finally, I’ve added delay and reverb on the return tracks, and side chain compression that ducks the pad when the kick drum hits.
Enjoying the article so far?
Click below to get lessons & inspiration at our Bi-Weekly Music Maker's Social Club
3 - Jackin' House Bass
This is a deep and bouncy sound I just can't get enough of. It's well rounded, easy to mix, and really propels a track.
You can hear it in records since the early 80's, but my favourite use of this sound is all over the records by contemporary duo Factory Floor.

Like a lot of my bass patches, I love to have Osc1 as a square wave, and Osc2 as a saw wave. They are both rich in harmonics, slightly clash with each other, and lead to a big sound. Osc 2 is 1 octave higher, but because I want this patch to have smoothness and bounce, there is no detuning
The filter envelope is important here - a quick attack and decay give that plucking sound we are after. The amp envelope is similar, but has a bit more release. Playing around with the amp release as this patch runs is quite satisfying for builds.
To add some movement to the patch, vibrato, unison, and glide, are all on, and set to fairly low values. They all add subtle depth and variation to the sound.
The Noise Osc is also switched on, which at low levels emulates the hum and interference you often get on real hardware synths.
Lastly, I added Chorus on a return track - which is one of my favourite tricks and emulates how a Juno Chorus works. if you drop a chorus directly onto the track the synth is on, it takes away from the clear bass sound, so I often find it is best to add it on the return track.
Remember to download your template Ableton set!
"I think obedient music is some of the most boring music in the world.” - John Foxx

4 - Lo-Fi Analogue Snare Drum

With Synth pioneer John Foxx's words ringing in our ears, let's be disobedient to our urges - I bet almost all of you reach for a sample pack when you need a snare drum sound, right?
I do too. But let's rebel against our usual work-flow, and make one ourselves.
Only Osc1 and the Noise Osc are used in this patch. The noise osc is actually more important in this case, giving us the snap of the snare sound. Changing the “colour” setting will brighten or deaden your sound if you turn it up or down. Osc1 is a sine wave, providing us with a tone for your drum.
The filter envelope is very important here, because it creates a shift in tone that mimics what happens when you strike a snare drum. A quick attack and decay are good settings to start with. Regarding the release, you can play around with that to have a boomy snare drum that rings out, or keep it short and snappy with a fast release setting.
Use similar settings for the amp envelope.
5 - That Classic Arpeggio Sound
This sound can give such a classic sci-fi vibe to your track, and it evokes a retro-futuristic vision of the world and space travel.
Daft Punk's 'Discovery" album used liberal amounts of this sound, and when combined with their sci-fi anime visuals, it was a perfect picture.

Osc1 and Osc2 are a saw and square wave respectively, once again giving us that combination for harmonic richness. I've tuned down Osc2 by 2 octaves to add nice amount of bass to the patch.
The amp envelope has a very quick attack and decay, giving us that plucked string sound, and it is good to play around with the release too. More release can make it sound very spacey and cosmic.
The filter envelope decays less, this is because we don't want the filter to react as quickly, because we want time to modulate it with the LFO.
The LFO is set to a slow rate - I find these work best for smoothe modulations over time. It is set to modulate the cut off frequency of the filter, and also the panning of the patch [find this in the amp section]. This gives the pacth even more movement and interest to the ear.
Once again, unison and glide are used to thicken the sound, and add a bit of slide between the notes; and a small amount of the noise Osc is used to add that dusty sound we mentioned before.
Want to Fast Forward your own music making?
Click here to check out our 6 week Track Accelerator Program
6 - Phat 808-style Kick Drum
The kick drum sound from the original Roland 808 drum machine is ubiquitous, and you'll hear it in a huge variety of genres.

Let's inject some originality into the sound by attempting to create our own version of it, which should add a unique touch to your track.
The foundation of this sound is a deep sine wave, so Osc1 is set to sine. Remember to program in a very low note. We don't need Osc2, but we do need the noise osc quietly in the background.
The amp and filter envelope are set to attack quickly for that initial, impactful transient. This decays quickly, but adjusting the length of the release can let you control how long you want the BOOM to ring out.
It's a simple patch, but adding plugins for extra EQ, saturation, and compression can help you shape the sound further. Remember, we aren't exactly trying to copy the sound of an 808 kick, because why would you? You can just use one of the samples out there. This is about making your own version of it.
"These days, If I’m struggling to produce anything, I’ll write a theme tune for a sh***y 1980’s T.V. show I just made up in my head" - Memorex Memories
7 - Synth-wave Bass

Synth-wave is an awesome genre that takes a huge pile of nostalgic inspiration from the 1980's, as Memorex Memories mentions above.
Looking to another decade for inspiration can get you over writer's block, and also help with your sound design too.
Let's look at how to create a 1980's synthwave bass line that would fit perfectly with a reboot of Knight Rider or any other 1980's TV classic.
We want a classic 80's sound here, so I've selected a square wave on both Osc1 and Osc2. This gives an 80's computer game sound because a lot of video game consoles back then only could produce square waves to generate tones. Osc 2 is tuned down 1 octave to add extra bass to the patch.
The amp envelope is set to a quick attack and quick decay - this helps emulate the pluck of a bass guitar string. Our aim is not to get it sounding exactly like a bass guitar, but using this trick definitely makes the sound more believable. The filter envelope is similar, but with a slower decay.
The LFO is set to a slow rate, and used to ever so slightly modulate the pitch of Osc1. This effectively makes it go slightly out of tune, and is a trick called "pitch drift". Hardware analogue gear like synths, and music formats of the 80's like cassettes were susceptible to pitch drift, so emulating it in your daw gives a sense of the era and realism. It's one of my all time favourite tricks!
Finally I have added a VHS emulator plug in I created in Ableton. You can get this if you download the template file, however there are other free to use VHS and Cassette style plug ins out there that you can use to get similarly 80's results!
Sign up here for your free template Ableton session!
8 - West Coast Lead

One of the most legendary hip hop producers ever - Dr Dre - pioneered this sound, and it is a useful lead sound in many genres, even sitting surprisingly well on delicate folk records if mixed well into the back ground!
Sine waves are the core of this sound, so Osc1 and Osc2 are set to sine wave. Osc2 is an octave higher to give that high tone that cuts through the mix, and it is detuned slightly to add interest to the sound.
The amp envelope is set to have a quick attack, medium decay, and medium release. This lets the sound hang above the rest of the track, but not overwhelm it.
Glide is really important in this patch, because we want it to slide between the notes, almost like a theremin. Unison is set to 24.22 to add a bit of weight and thickness to the sound.
Don't forget the magic ingredient - a bit of delay on a return track really brings this sound to life without smothering it.
Enjoyed the Article? - Remember to sign up for the free Ableton Set!

Click here to fast forward your music with our 6 week Track Accelerator Program
Check out this Spotify playlist containing the sounds and artists referenced in the article
References:
https://en.m.wikipedia.org/wiki/Analog_synthesizer
https://www.google.com/amp/s/www.nytimes.com/2016/09/18/arts/music/don-buchla-dead.amp.html
https://www.google.com/amp/s/post-punk.com/the-disobedient-machine-an-interview-with-john-foxx/
https://www.loudersound.com/features/far-out-vangelis-on-the-science-and-power-of-music
Images
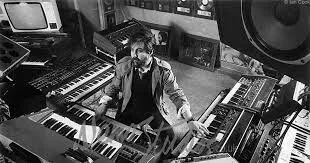
Giorgio Moroder with his huge Moog Synth system
From: https://www.theguardian.com/music/2019/mar/28/giorgio-moroder-his-20-greatest-songs-ranked
Don Bulcha, 1970s
Image from https://www.nytimes.com/2016/09/18/arts/music/don-buchla-dead.html
Vangelis, 1970s
Image from https://echoes.org/2021/01/19/vangelis-ten-essential-albums-from-an-icon-of-echoes/
John Foxx, 1980s
Image from https://www.electricityclub.co.uk/john-foxx-the-metamatic-interview/
Memorex Memories
Image from https://soundcloud.com/memorexmemories

Halloween Synth Sounds
It all begins with an idea.
Learn about the Top Six Halloween Synth Sounds, and how to make them yourself!